
His shirt has a yoke across the back. I have sewed it on to the main back piece and to the front pieces at the shoulder on the outside. Now I have to fold under the seam allowances on the front shoulder edges of the yoke and then sew the folded edge to the rest of the shirt to enclose all the raw edges within the yoke.
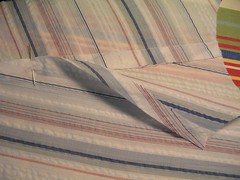
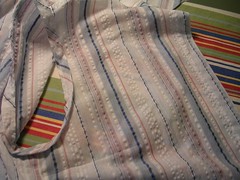
Here, I have taken the two fronts after topstitching the yokes. On the right-hand side is the inside or wrong side of a yoke. You can also see the pink chalk mark for the shoulder point of where the sleeve will go. On the left-hand side is what the topstitching looks like from the outside.
'
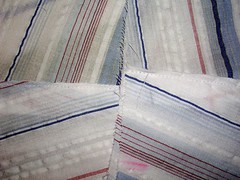
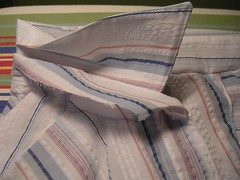
Both collars are two pieces - the collar and the band. This photo shows his shirt collar, with the stripes running lengthwise with the grain. When I sewed the band onto the collar, I folded under the seam allowance on one side in preparation for sewing it onto the shirt with no hand sewing.
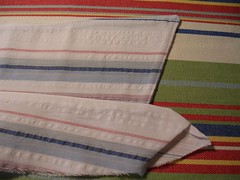
In the next photo, I have sewed the band onto the shirt on MY shirt (hence the stripes are running the other way). I haven't pressed the seam yet.
In the next photo, I am showing HIS shirt with the collar attached by its band but the band facing not yet pinned or sewn to the shirt.
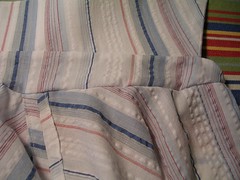
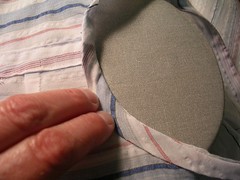
Once I've trimmed the seam allowances (including a tiny bit off the band facing seam allowance) and pressed the seam allowances up into the band, I have to fold the band facing seam allowance under and start to pin it to the shirt along the line where I stitched the band to the shirt. I start at the ends and work my way in to the centre (sort of).
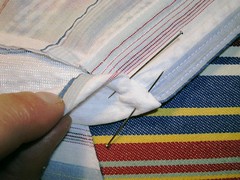
Here, I've put a couple of pins in the end of the band and then I've pinned the middle where the band is straight and doesn't need much fiddling or easing. Now I can work between these two anchors and pin the rest of the band facing down.

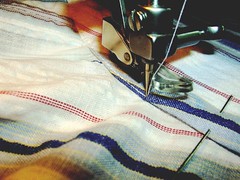
Finally, using the zipper foot, I sew the band facing down to the band, getting as close to the fold as possible.
Here's the front of my shirt. The pattern calls for the use of bias cut bands to finish the armhole edge for the sleeveless shirt. I have sewed them on to the shirt and am starting to press them out.
I am using a sleeve board to help with the pressing of the bias bands to the inside of the shirt. Next I will sew the bands down to the shirt, thus encasing the raw edges and giving a nice finish.
No comments:
Post a Comment