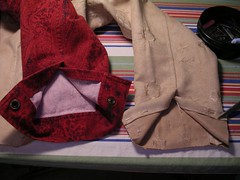
I like to use a jacket I've made before as a help to see which part goes where. Of course, if it is the first time I've made a pattern, I have to follow the instructions. I just find looking at the real thing easier. Here I've got a red denim jacket showing which side of the vent opening in the sleeve is the one folded back a bit more than the other side. By laying both left sleeves down on the ironing board together, I can see how to fold the edges of the vent on the jacket I am currently making.
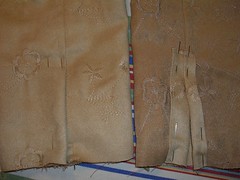
Here, I've folded over the vent edges and then pinned the top edge down because I'm going to sew across the loose edges at the top of the vent.
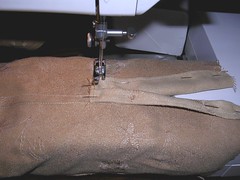
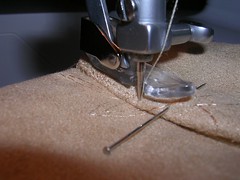
I've got the sleeve on the free arm of my sewing machine (the box that holds presser feet and things hinges back out of the way or I can take it off altogether) and I am about to sew across the top of the vent. You can see that one side is folded back a little more than the other. You can also see the wrong side of the sleeve and the flat fell leading down to the vent.
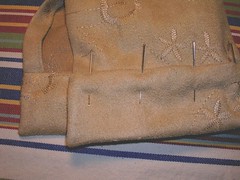
Once I had the vent sorted out, I sewed the cuff onto the end of the sleeve, with the right side of the cuff attached to the wrong side of the sleeve. In this way, when I have sewed up the ends of the cuffs, I can sew the folded edge of the cuff to the right side with a line of topstitching so there will be no hand sewing. This is how I have made cuffs and collars on shirts in the past in this blog. In this photo, the folded edge of the cuff is pinned in place, ready for sewing.
This is an extreme close up of the start of the topstitching on the cuff. I have left the needle down in the fabric and lifted the presser foot so you can see the detail.
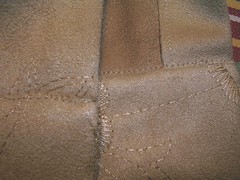
Here is the result of the first line of topstitching, attaching the cuff to the sleeve. You can see on the inside or wrong side of the sleeve that the topstitching line is slightly off the cuff and on the sleeve part. That's because on the outside I have tried to sew very close to the fold and make sure that the first line of regular stitching is hidden under the fold.
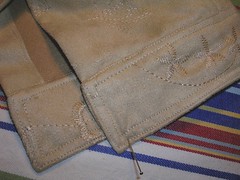
Once the cuff is securely attached, I can finish the two lines of topstitching all the way around it. This photo shows the inside and outside of the finished cuff. There is a pin in it only to hold that corner down for the photo - it is quite stiff and springy fabric.
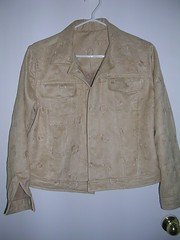
The bottom band is attached just like the cuffs. Now all I have left to do is attach the tabs on the bottom band and hammer on all 13 snaps and I'm done! Woo hoo!
No comments:
Post a Comment